
Integrating Jenkins with GitHub webhooks allows you to trigger Jenkins jobs automatically whenever there are changes or events in your GitHub repositories. This enables seamless continuous integration and delivery of your code. Here’s how you can set up the integration:
- Install Jenkins: Ensure you have Jenkins installed and running. You can set it up on your local machine or on a server. Access the Jenkins web interface.
- Install Required Plugins: In Jenkins, navigate to “Manage Jenkins” > “Manage Plugins”. Install the “GitHub Integration Plugin” and any other necessary plugins for your specific requirements. Restart Jenkins after installing the plugins.
- Create Jenkins Job: Create a Jenkins job that defines the build and deployment process for your project. Configure it with the necessary build steps, tests, and deployment actions.
- Set Up Webhook in GitHub: In your GitHub repository, go to “Settings” > “Webhooks” > “Add webhook”. Provide the Jenkins URL in the Payload URL field, which should be in the format:
http://your-jenkins-server/github-webhook/. Select the events you want to trigger the webhook, such as push, pull request, or release events. - Configure Webhook in Jenkins: In Jenkins, navigate to the Jenkins job you created and click on “Configure”. Scroll down to the “Build Triggers” section. Check the option “GitHub hook trigger for GITScm polling”.
- Configure Jenkins and GitHub Integration: In the Jenkins job configuration, scroll down to the “GitHub” section. Enter your GitHub project’s repository URL. If you want to use GitHub credentials, configure them in the “Credentials” field.
- Test the Integration: Make a change in your GitHub repository that should trigger the webhook, such as pushing a new commit. This should automatically trigger the Jenkins job.
- Optional: Additional Configurations: Depending on your project’s requirements, you may need to configure additional settings such as branch filtering, environment variables, or triggering specific stages of the Jenkins job based on specific GitHub events.
By following these steps, Jenkins will be integrated with GitHub webhooks, allowing automatic triggering of your Jenkins jobs whenever there are events or changes in your GitHub repository. This enables seamless automation and continuous integration and delivery for your projects.
Create a freestyle job, and choose any name as per project requirements:


Choose GitHub Project, as we build the code while pushing into Jenkins-project.

Use the below mention URL into the GitHub project mention in the above choice:

My Git Repository View-project URL:
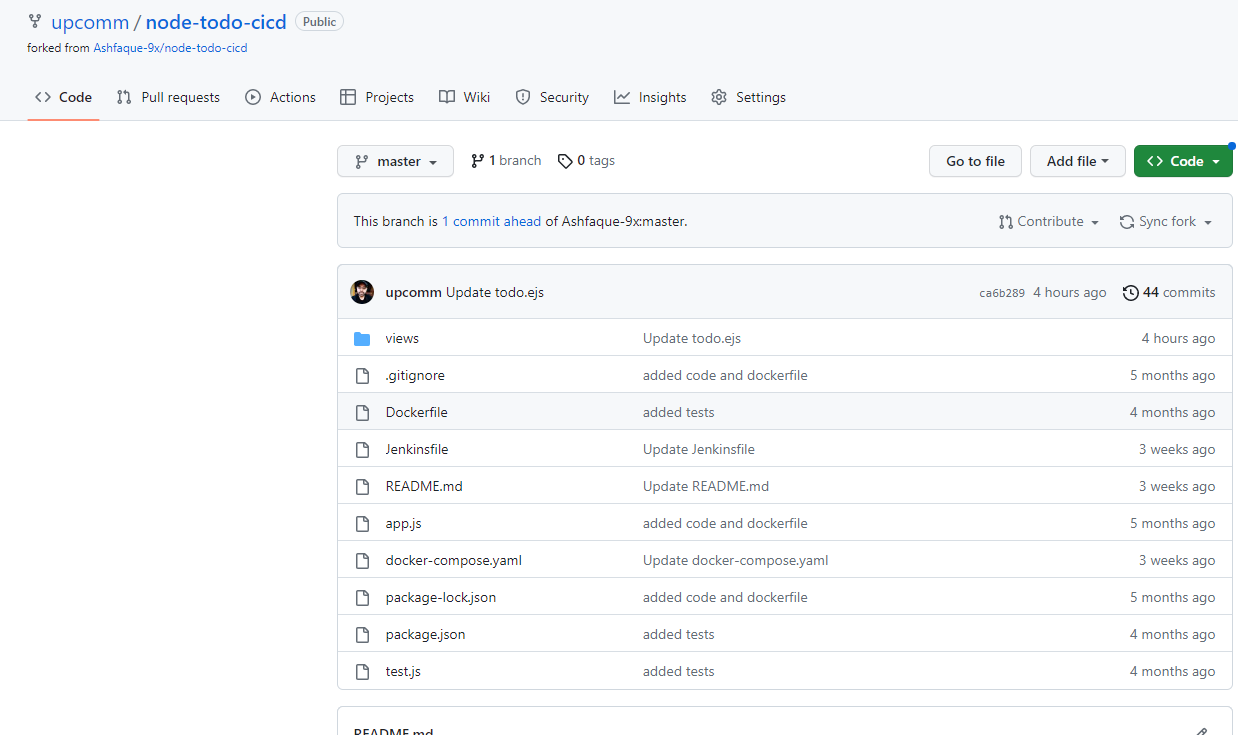
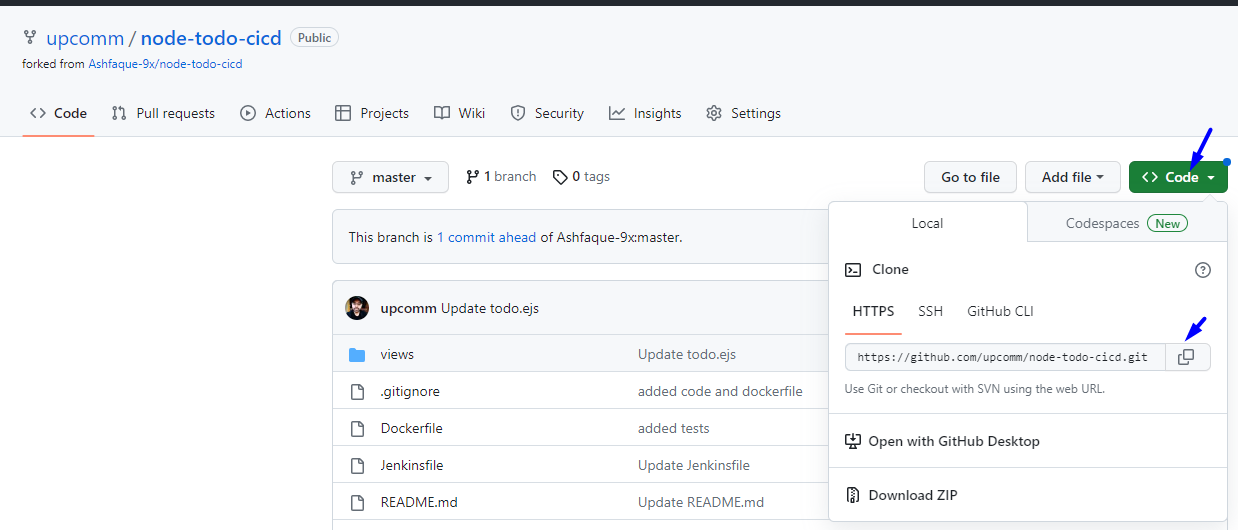
use the GIT option and fill up the repository URL: taking it form code mention on the next picture:

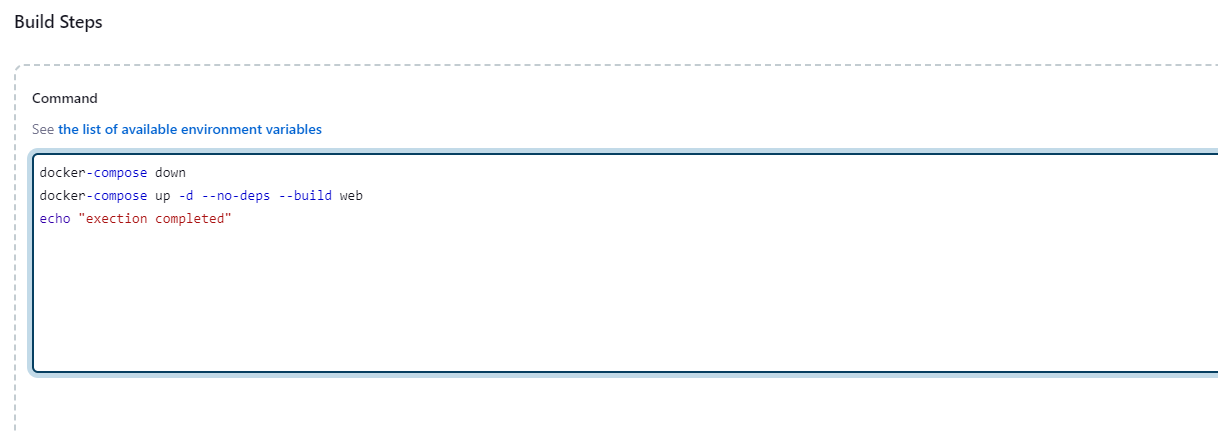
Build setup: In our case we use the execute shell, and execute the docker-compose file:

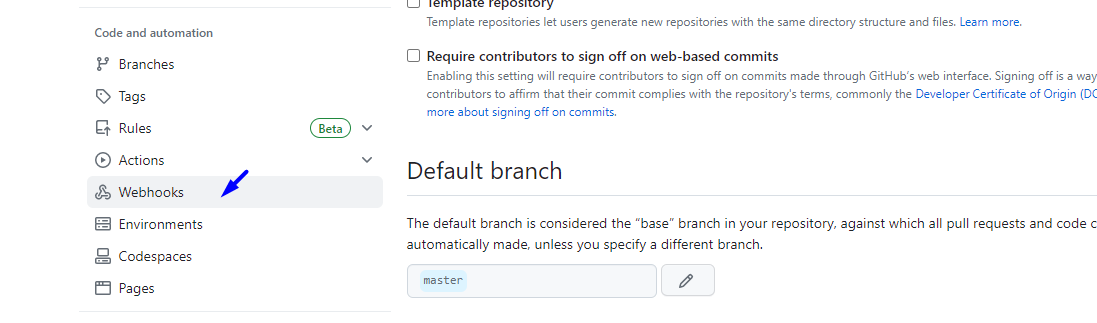
Before execution configure the webhooks: for this, we go into our git-repository and chose the setting option.

Payload URL is my Jenkins URL:
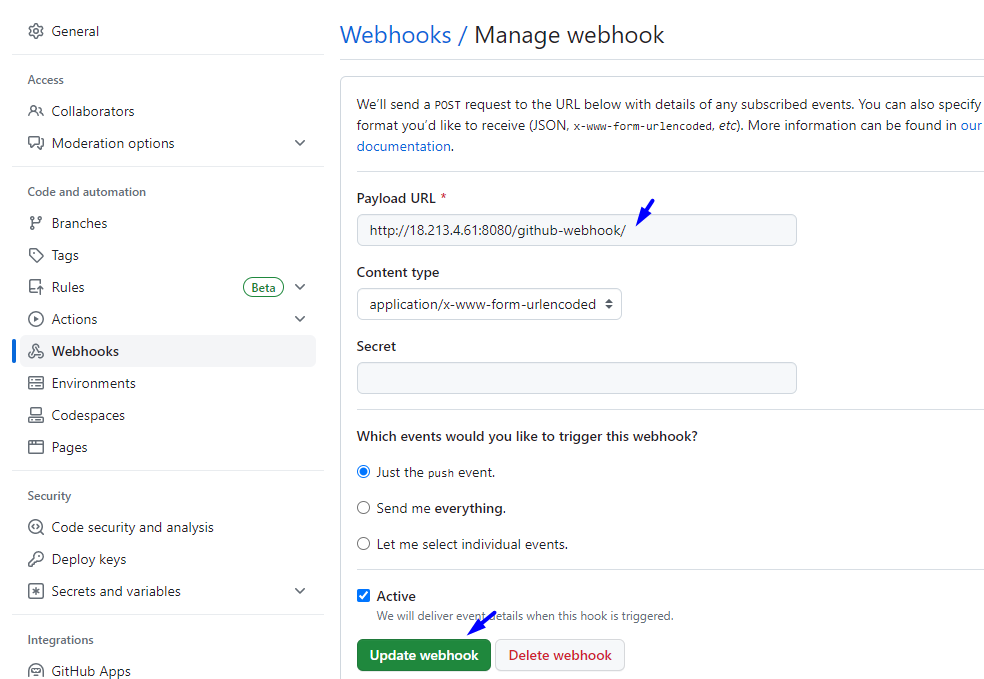
Webhook configured:

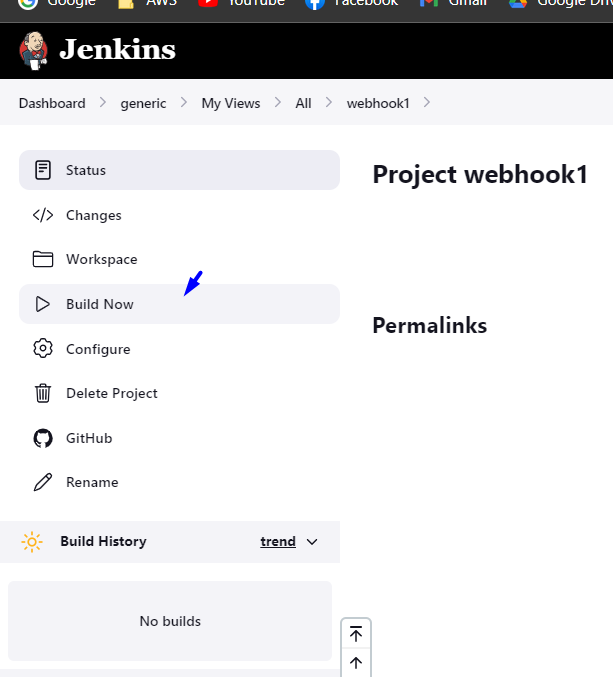
Build the setup using the command: execute docker-compose

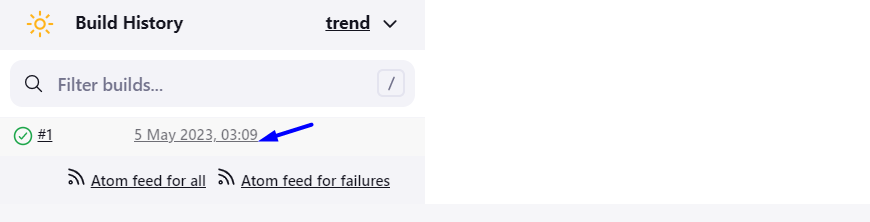
JOB COMPLETED SUCCESSFULLY:

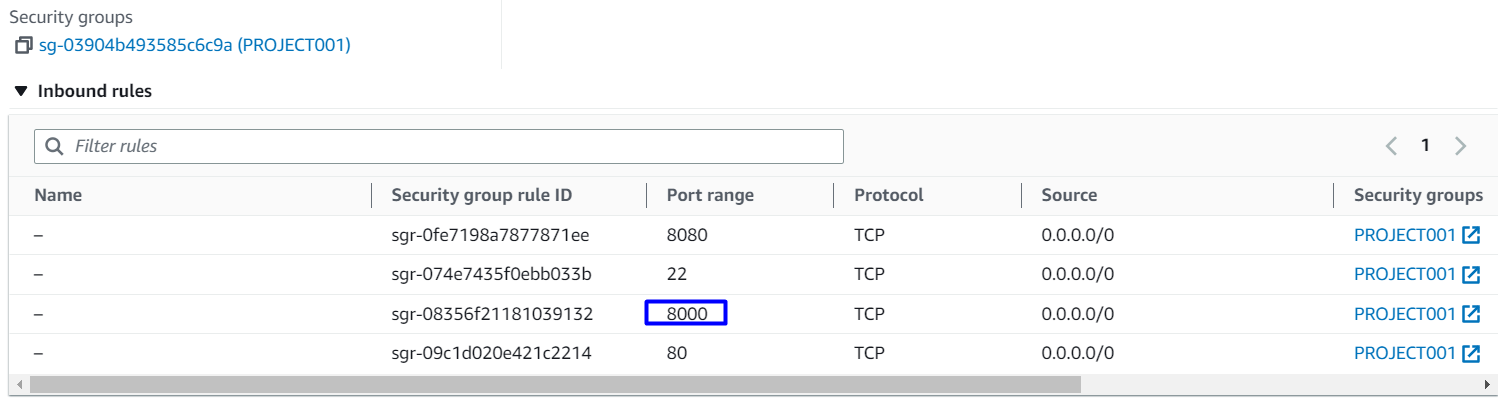
The application is running on port 8000

Have a nice day!
No comments:
Post a Comment