
Deploying applications in OpenShift using the user interface (UI) involves the following steps:
- Access the OpenShift web console: Open a web browser and enter the URL of your OpenShift cluster’s web console. Provide your credentials to log in.
- Select a project: Once you’re logged in, you’ll see a list of projects. Choose the project where you want to deploy your application or create a new project.
- Create a new application: Look for the “Create” or “Add” button to begin creating a new application deployment.
- Choose deployment method: In the application creation wizard, you’ll typically have options for different deployment methods. Select the appropriate option based on your application requirements. The available options may include:
- Login dashboard.
https://console-openshift-console.apps-crc.testing/dashboards
- Create the deployment while insetting the git path and testing it in the next step.

- Under developer click on add.
 Click on import from Git.
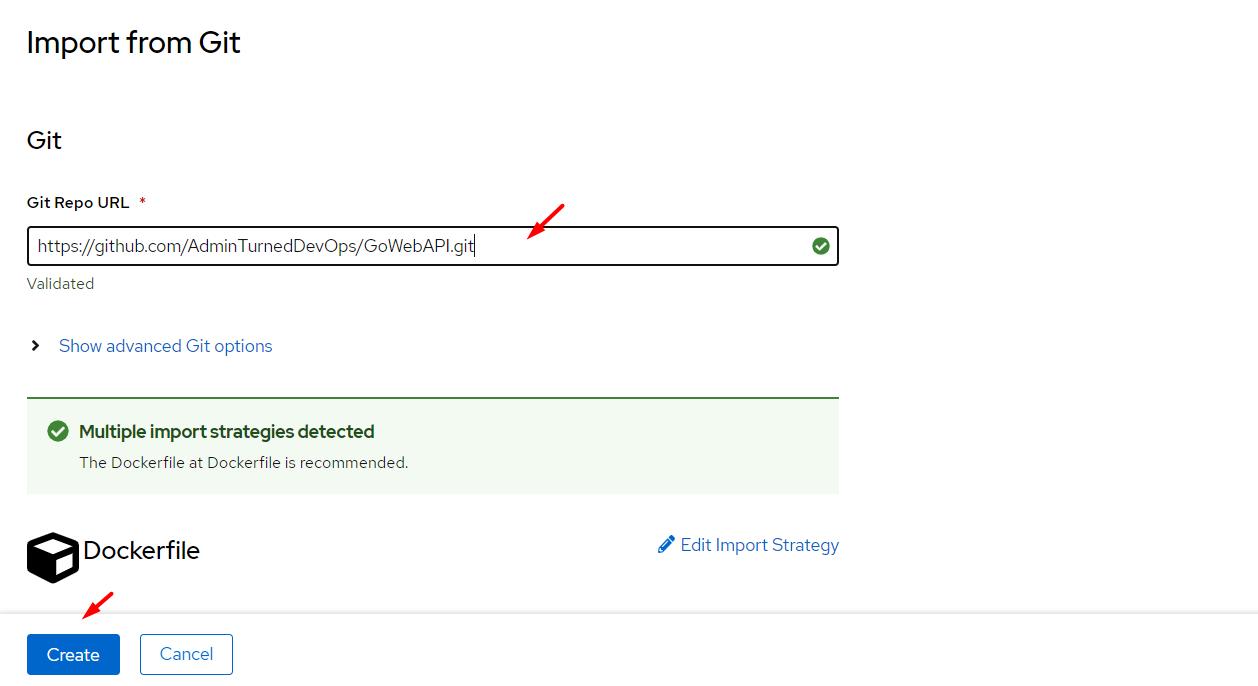 Use any name.
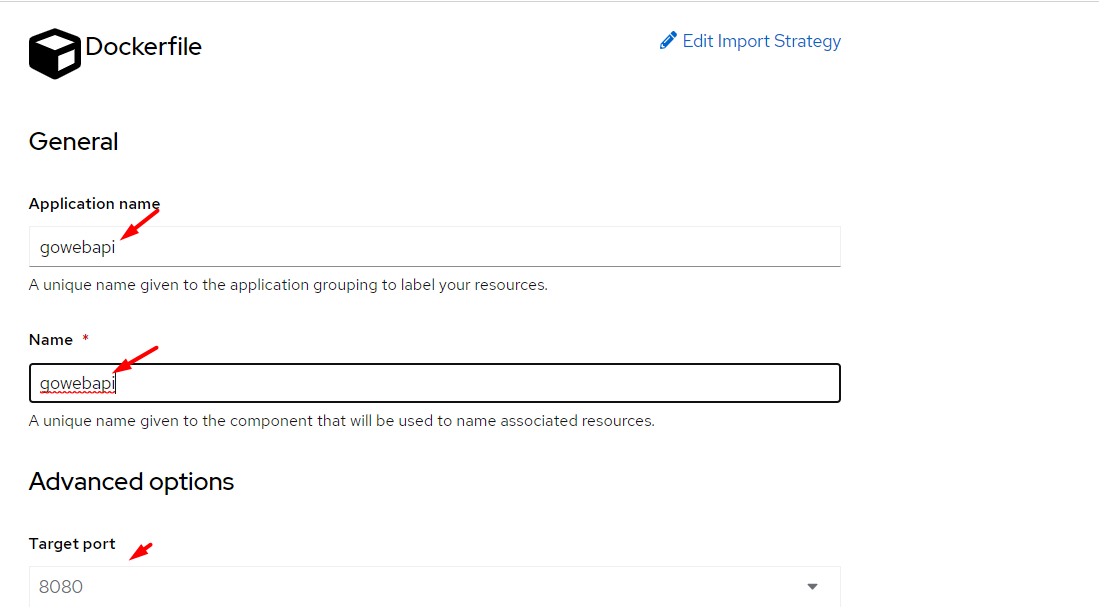 Click on the route to expose the deployment.
 Deployment created.
 Route Info.
 POD is running.
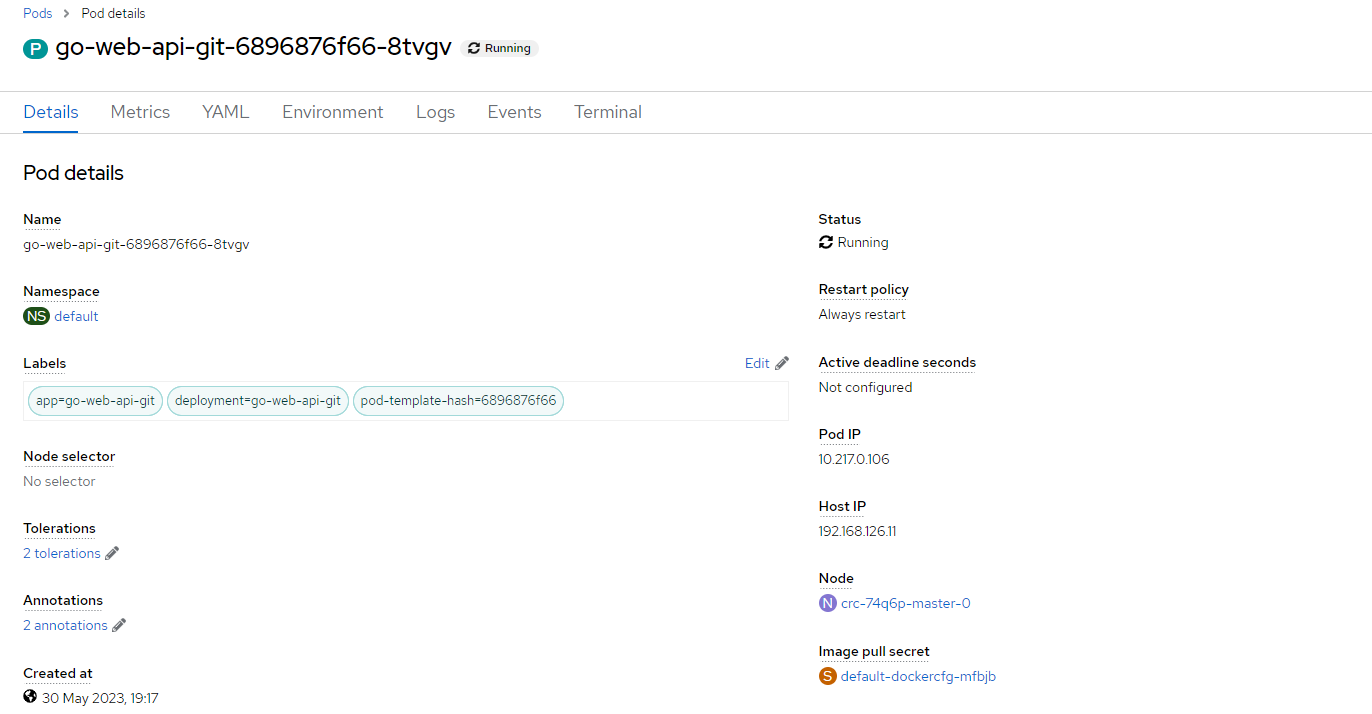
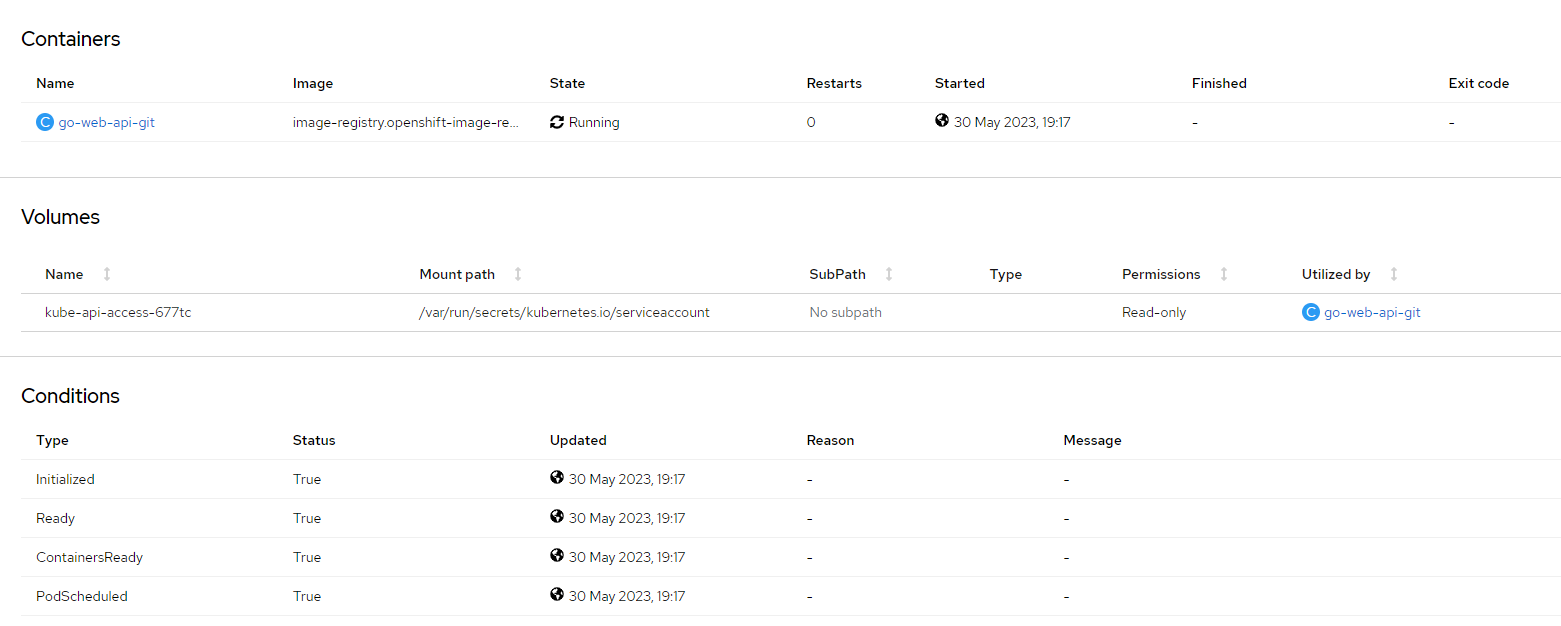
 We can go inside the pod using the terminal.
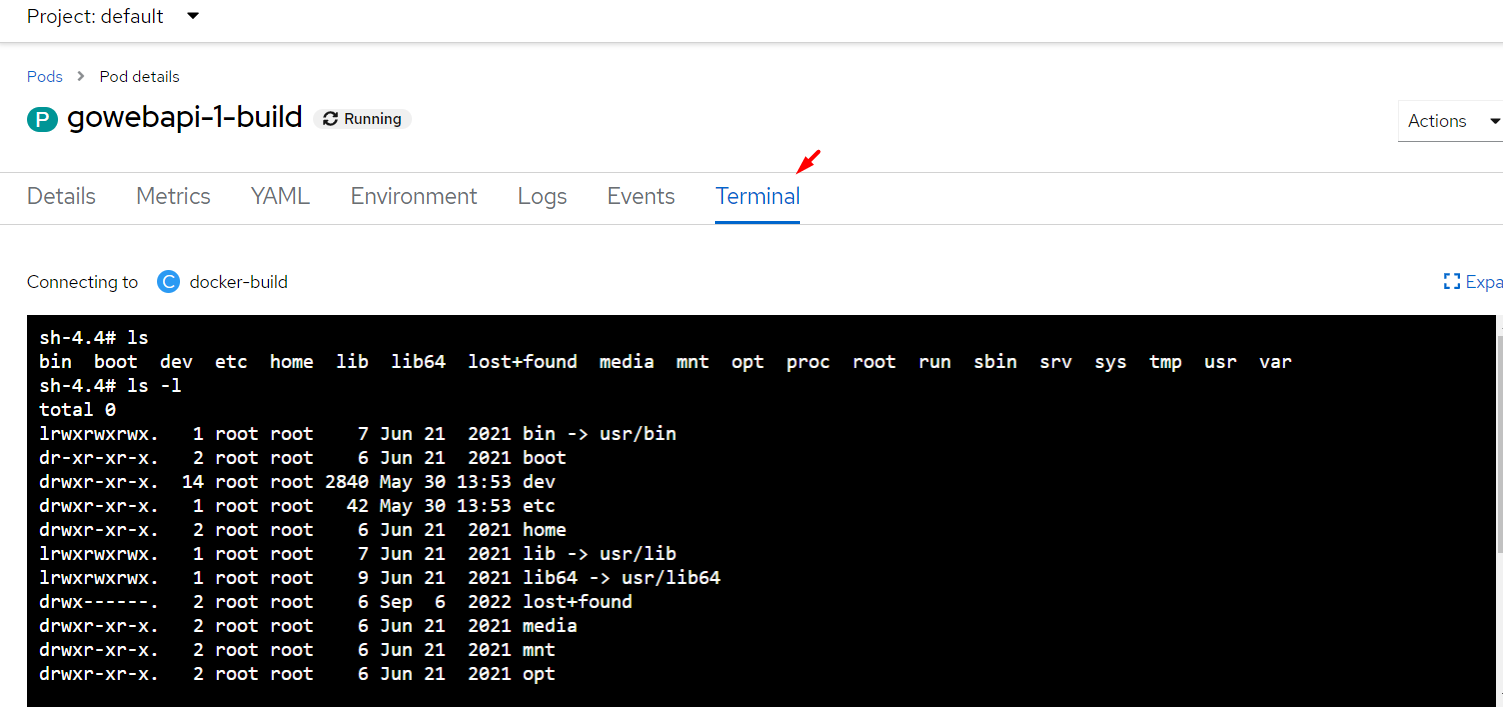 CLI Verification.
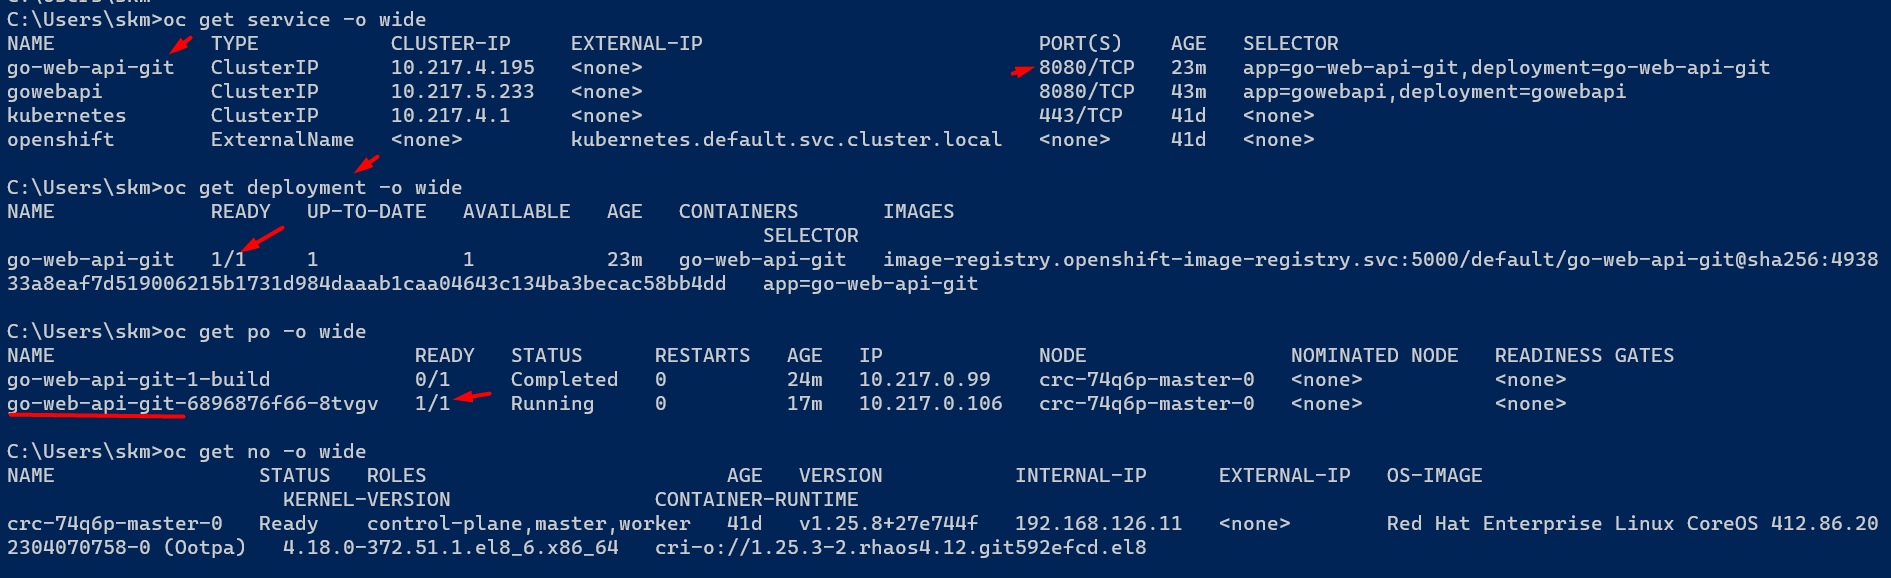

 End Of DevOps Notes, GOOD LUCK!
No comments:
Post a Comment